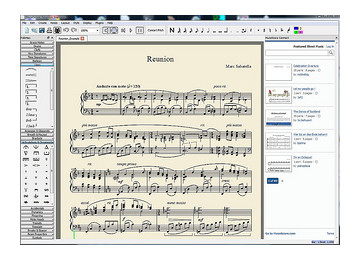
Yesterday I posted a list of music notation software with support for tablature. I wanted to test a few of the free options to see which one offers the best support for creating and importing guitar tablature.
MuseScore is first on the list, and is a good choice because it offers a lot of features and is free open source software that is actively supported and updated.
The main version of MuseScore, version 1.3, doesn’t support guitar tablature, but MuseScore 2.0 does, along with tablature for several other stringed and fretted instruments.
MuseScore 2.0 is currently in its Beta 2 stage of release. There may be some bug issues here and there, but everything for creating tablature seems to be working well enough to be functional.
Here’s the page where you can find download links for MuseScore 2.0 Beta 2. If it’s been awhile since the post date of this article you might want to check to see if there’s a newer version. The software works with Windows, Mac, and Linux.
How to Setup MuseScore for Guitar Tabs
MuseScore is designed for all kinds of advanced music notation, not just tablature, so it can be confusing when first getting started how to use the software to create tabs.
Here’s the link to the official MuseScore Tablature user guide that describes how to set everything up, how to configure custom settings, how to input notes, and how to use keyboard shortcuts.
Additionally, here’s a link to a comment that describes how to insert symbols such as slides, hammer-ons and pull-offs.
The quickest way to setup tablature is to select “Create New Score” at start-up. Or just select to create a new score from the file menu.
After entering a title for the score and some metadata if you want, you get the option to choose from templates. Scroll down to the “Solo” section for guitar. You can choose a template with just tabs or tabs and notes.
Then you get the option to select key signatures, tempo, and time signatures. If you’re not sure about these just leave the default settings for now.
There are a number of customizations and features to explore when first getting started. You can setup string information by right-clicking on the tablature staff and selecting “Staff Properties”. It’s important to set the tuning for each string if you’re using a non-standard tuning. You can also add and remove strings from the default 6-string setup.
To start inputting notes, first you have to switch to note entry mode by pressing the “n” button on the keyboard. Then you can select where to add notes using the mouse and up and down arrows, along with the number keys to enter fret numbers. More keyboard shortcuts and tips can be found on the Tablature user guide mentioned above.
To insert symbols such as slides, you first need to choose to show the advanced palette menu in the lower left corner of the MuseScore interface. After that you can select slide lines from the “arpeggios and glissandis” list. For hammer-ons and pull-offs use the slur under the “lines” list. You can add fretboard diagrams from the “symbols” list, and customize the fretboard diagram by right-clicking it. See the referenced comment above for inserting symbols for more fine-tuning tips.
Below is a video I found on YouTube that shows the process of setting up MuseScore 2.0 for tablature. It’s not in English and shows an older version of the user interface but the steps are all basically the same.

