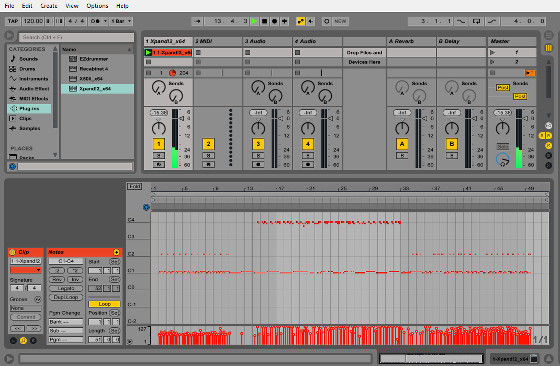
Ableton Live 9 comes with a bunch of advanced MIDI features that helps make recording and editing virtual instruments and sounds easy.
With the MIDI editor you can invert and reverse notes, quantize, create legato phrases, quickly duplicate loops, speed up or slow down individual or selected MIDI notes, and more.
MIDI Controller Setup
The great about Live is that it automatically recognizes most MIDI controllers that you plug in, without the need for any complicated setup.
Just remember to install your controller’s drivers before launching Live. Then all you have to do is make sure to tap the record enable button after adding a MIDI track to hear sound as you play. Or you can just double click on instruments and sounds from the browser to test them with your controller.
The way to verify if Live has detected your MIDI device is to look in the upper right corner of the interface—a yellow square blinks whenever you tap a pad or key on your controller.
If your device isn’t detected or if you want to customize some settings, go to Preferences (shortcut: Ctrl+, PC; Cmd+, Mac) and select the MIDI sync tab. To play instruments make sure the track switches for your MIDI device are turned on.
Ableton Live 9 supports instant mapping so most controllers will automatically correspond to the controls in Live for whatever effect you’re currently using. If your device doesn’t support instant mapping you can use custom mapping.
Custom Mapping
You can use custom mapping to manually assign specific controls to your controller quickly and easily.
First, open Preferences then hit the MIDI sync tab and turn on the remote switch for your device.
Then click where it says MIDI in the upper right corner of Live’s interface (shortcut: ctrl M). Controls that can be selected are highlighted. Click on one then use whatever corresponding control on your device that you want to map to it. Then click the MIDI button again to confirm and activate.
Below is Ableton’s video demonstration that walks you through the entire process of setting up and mapping your MIDI controller to Live 9. More tutorial videos can be found on the official Getting Started with Ableton Live 9 page.
Ableton Live MIDI Controller Setup
MIDI Recording
The video below shows how to setup a software instrument to use a MIDI controller to play and record in Ableton Live 9.
To get started, just drag or double-click one of the pre-installed instruments or a plugin into the session block.
If your not hearing your device play sound, make sure the session record button is enabled and red under the track you’re trying to use.
To start recording you click one of the circles on the track for your instrument. To stop recording, press the stop button or use the space bar.
Before recording, you can enable a click track to help keep correct timing. The icon is in the upper left of the interface, with two dots next to each other, one filled and one hollow.
The video below shows how to do these things, along with some advanced editing and quantizing techniques. For more information about this, refer to Ableton’s official Editing MIDI Notes and Velocities guide.

